Renewable energy is becoming one of the most important topics for the next generation, and students are now encouraged to explore it through hands-on learning. A mini wind turbine is one of the most exciting STEM projects that can be built using simple materials. It not only helps students understand how wind energy can be converted into electricity but also makes them curious about larger concepts like sustainability and engineering. In this blog, we will explain how to make a mini wind turbine that generates electricity, step by step, and how such projects inspire innovation in Atal Tinkering Labs.
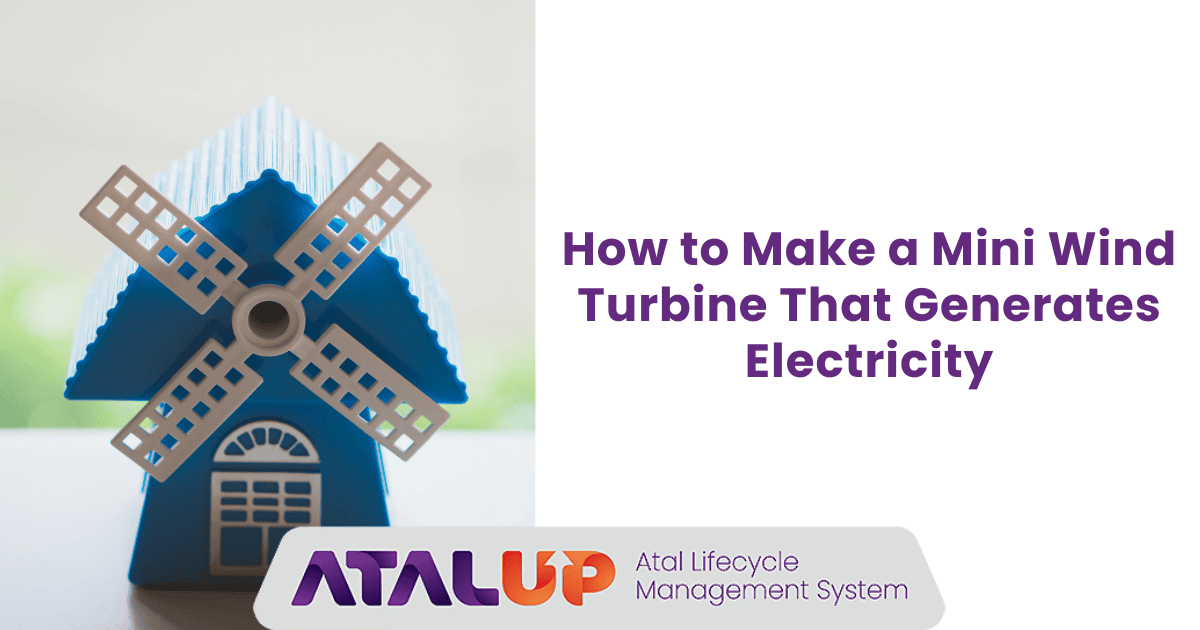
How to Make a Mini Wind Turbine That Generates Electricity
Building a mini wind turbine may sound complex, but with simple materials and a structured process, students can easily make one that works. Here’s a detailed step-by-step guide:
1. Gather the Materials
To start, you need:
- Small DC motor (works as a generator)
- Cardboard or lightweight plastic for blades
- Plastic or wooden stick for the rotor
- A bottle or sturdy base to hold the structure
- Hot glue or tape for fixing
- Small LED bulb
- Wires and connectors
These items are inexpensive and easily available. The DC motor is the key component because when the blades rotate, it generates electricity.
2. Prepare the Blades
Cut 3–4 blades from cardboard or lightweight plastic. The size should be equal, and the edges slightly curved so they can catch the wind effectively. Balanced blades are very important because if one is heavier, the turbine won’t rotate properly.
3. Attach the Blades to the Rotor
Fix the blades onto the stick or directly to the motor’s shaft. Use hot glue or strong tape to keep them stable. The angle of the blades should not be completely flat—tilting them around 30 degrees allows the wind to push them more efficiently.
4. Build the Tower
Take a bottle or a wooden block to create a tower. Fix the motor with blades at the top of this tower. The tower should be high enough so the blades get good airflow. Stability is important, so ensure the base is strong and doesn’t shake when the blades move.
5. Wiring the Motor
Connect two wires from the motor’s terminals. These wires will carry the electricity generated when the blades spin. Connect the wires to a small LED bulb. If the turbine is rotating properly, the bulb will glow, showing that electricity is being generated.
6. Testing the Wind Turbine
Now, place your mini wind turbine in front of a fan or in an open area where wind is available. As the blades rotate, the motor converts mechanical energy into electrical energy. The LED bulb will light up. This proves that the wind’s kinetic energy has been transformed into usable electricity.
7. Improving the Design
Once the basic model works, students can try upgrades like:
- Using lightweight PVC for blades instead of cardboard for better efficiency.
- Attaching a rechargeable battery to store energy.
- Using more aerodynamic blade designs.
- Increasing tower height to capture more wind.
These improvements give students a real feel of how engineers work on actual wind turbines.
8. Understanding the Science
This project introduces students to renewable energy, mechanical engineering, and electrical circuits. They learn that when blades spin, they transfer kinetic energy to the motor. The motor, acting as a generator, produces electricity. This process shows the direct application of physics concepts in the real world.
In summary, how to make a mini wind turbine that generates electricity is not just about building a model, but about understanding the science behind renewable energy. Students get hands-on experience in creating a device that has real-world significance.
How Students Learn in Atal Tinkering Labs
Projects like the mini wind turbine are just one example of the kind of innovation encouraged in Atal Tinkering Labs. These labs give students the tools and space to explore renewable energy, robotics, electronics, and real-world problem-solving.
When students work on such projects, they not only apply science and mathematics but also develop creativity and teamwork. With guidance from mentors and access to equipment, they can create working models, test their ideas, and learn from failures. This makes learning practical, engaging, and impactful for their future careers in STEM fields.
How ATALUP Helps Schools
While Atal Tinkering Labs are transforming education, schools often face challenges in applying for grants, setting up labs, and managing operations. This is where ATALUP becomes a trusted partner. ATALUP helps schools become ATL-ready with complete support, from grant application guidance to lab setup and teacher training. Beyond this, ATALUP ensures smooth execution with real-time monitoring, structured learning paths, and compliance reporting.
Is your school eligible for
Atal Tinkering Lab
It also offers the ATALUP STEM app, where students can access experiments and activities even before the lab setup. With ATALUP, schools can focus on nurturing young innovators while the process becomes seamless and hassle-free.