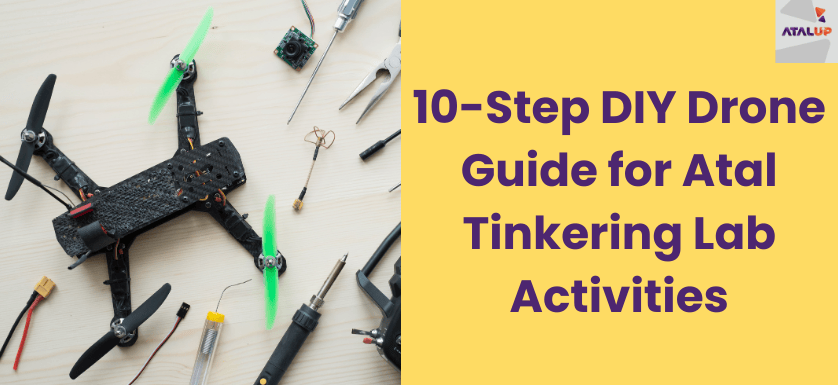
Atal Tinkering Labs are all over the internet. Schools across India are eagerly waiting to receive them. Wonder why? Because Atal Tinkering Labs don’t promote rote learning. They focus on next-generation concepts like building AI-based products, IoT devices, 3D models, DIY Drone, and more.
One of ATL’s curriculum modules covers drone making. Our young learners are fascinated by such technologies. These are not just ‘cool’, they’re also very useful. From filming scenic places to providing surveillance, drones have multiple applications.
When you were in school, I’m sure you made paper planes and rockets. Today’s generation needs more than that. In this blog, I’m going to share a DIY drone guide. Even if your students don’t have a ready-made kit, this guide will help you build one from scratch. Such DIY drones can boost hands-on learning in Atal Tinkering Labs. So let’s get started and learn how to make drone at home.
How to Make a DIY Drone Kit
Components
1. Drone Frame
Like a skeleton or body. Holds everything together. Comes with arms (like a spider). Buy online or use plastic/wood sheets.
2. Motors (4)
Like legs that make it fly. You need 4 small motors (2 spin clockwise, 2 anti-clockwise).
3. Propellers (4)
Fan blades that go on top of motors. 2 types (CW & CCW). Helps it lift & fly.
4. ESCs (Electronic Speed Controllers)
Like speed managers. Tells each motor how fast to spin. One for each motor.
5. Flight Controller
The brain! Like a chip or small board. Tells the drone what to do (balance, turn, fly). Popular ones: KK2, Naze32, Pixhawk.
6. Battery (LiPo)
Like the drone’s fuel tank. Powers everything. Get a 3S or 4S LiPo battery with an XT60 connector.
7. Remote Control & Receiver
Like a TV remote and sensor. Helps you fly it using a joystick. E.g., Flysky FS-i6.
8. Power Distribution Board (PDB)
A small board to connect the battery and ESC safely. Think of it as a wire organizer.
Tools:
Soldering Kit
Used to melt and join wires using a metal wire called solder. It’s needed to connect motor wires to ESCs securely.
Screwdriver Set
A set of small screwdrivers is used to tighten screws. Helps in fixing motors to the frame and assembling parts.
Zip Ties/Tape
Works like cable clips. Used to neatly tie or stick loose wires to avoid mess and tangling.
Heat Shrink Tubing
Rubber covers that shrink when heated. Used to protect wire joints after soldering and prevent short circuits.
Multimeter
A tool that checks if electricity is flowing correctly. Useful for testing connections, though optional for beginners.
10-Step DIY Drone Guide for Atal Tinkering Lab Activities
Step 1: Build the Frame
Buy a ready-made frame or make one using plastic, wood, or 3D print. It should have 4 arms.
Step 2: Attach Motors
One motor on each arm using screws. Use a screwdriver.
Make sure:
- Two motors spin clockwise
- Two spin anti-clockwise
Step 3: Connect ESCs to Motors
Each motor connects to one ESC.
Use soldering to join wires:
- 3 wires from the motor to 3 wires from the ESC
- No specific order (you can swap later to fix the spin direction)
Step 4: Install Power Distribution Board
- Stick it to the center of the frame.
- Now connect ESC power wires (red & black) to this board using soldering.
- Also, connect the battery connector to this board.
Step 5: Mount the Flight Controller
- Fix the flight controller at the center of the drone (top of the PDB).
- Make sure it’s flat and doesn’t shake. Use foam, tape, or special mounts.
Step 6: Connect ESC Signal Wires to Flight Controller
Each ESC has 1 thin wire (signal). Connect all 4 ESC signals to the flight controller (in chronological order).
This tells the motors how to move.
Step 7: Connect the Receiver
Your remote has a receiver. Connect that to the flight controller.
Use the instruction manual of the flight controller to plug it right.
Step 8: Set Up Flight Controller (Software Part)
You will have to connect the flight controller using a USB and a laptop.
Install free software like Betaflight or Mission Planner.
Here you will:
- Calibrate sensors
- Set motor directions
- Set up your controller buttons
- It’s like installing software on your phone.
Step 9: Attach Propellers
Now fix the 4 propellers to the motors.
IMPORTANT: Use the correct type (CW or CCW) as per motor direction.
Step 10: Final Testing
- Power on with battery (outdoors only).
- Check if it’s stable.
- Try hovering.
- Use your remote to test forward, back, left, and right.
Want to learn more activities like DIY drone?
Bring ATL to your school
How Can ATALUP Help?
Want your school students to learn more about such activities as DIY Drone? ATALUP can help. ATALUP is a complete Atal Tinkering Lab life management system that helps schools at every step, from applying for the ₹20 lakh ATL grant to setting up the lab, running structured STEM activities, and tracking student progress. It simplifies the entire process with tech-enabled tools, expert guidance, and ready-to-use resources. Whether it’s managing inventory, automating ATL calendars, or training teachers, ATALUP ensures your ATL runs smoothly and creates real impact.
Atal Tinkering Lab has a 9-chapter DIY drone module. We have explained it in the most simplest manner.